How to Perform File Transfers in ConnectWise Control
Whether you’re using Windows, macOS, or Linux, tools like ConnectWise Control (also called ScreenConnect) provide multiple methods to send and receive files, including drag-and-drop and copy-paste options. However, users may encounter challenges with certain file transfer processes, such as difficulties in receiving folders or managing large amounts of data.
This article will guide you through the process of transferring files using ConnectWise Control, explore common issues, and offer practical solutions to help ensure seamless file transfers during remote sessions.
How to Transfer Files Through ConnectWise Control on Windows
You can transfer files on Windows systems by default to this directory:
C:\Documents and Settings\UserName\My Documents\ConnectWiseControl
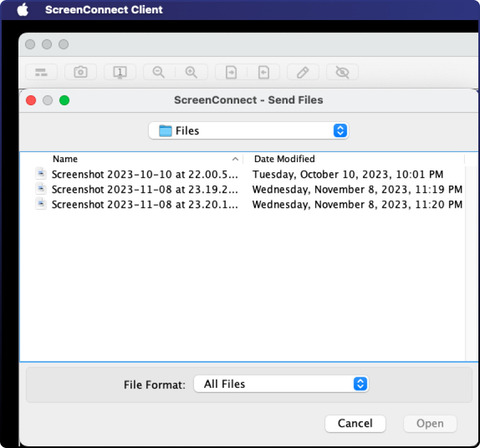
- • Send File/folder: You can send files or folders to a guest machine with ConnectWise Control. Just open the dialog Send Files or Browse for Folders. Next, choose the folder or file that you want to send.
On the destination computer or guest machine, you can see that an Explorer window has opened and the sent folder or file will be saved to the default directory in the Windows system.
- • Receive Files: Using ConnectWise Control, you can receive files from a guest machine. On the guest machine, a dialog will open – Send Files. You must then choose the targeted file and click on “Open” in order to receive that file.
On your Windows machine, an Explorer window will be opened, and the received file will be saved to the system’s default directory for file transfer.
- • Manage Received Folders: It’s possible to manage and modify the location where the received folders and files will be saved on the host machine.
Drag-and-Drop File Transfer

From your Windows computer, you can easily drag files and drop them into the chat window in order to transfer them to the macOS guest system. In other operating systems, you can transfer folders and files easily using the drag-and-drop option in order to keep them in the client window.
File Transfer Using Copy-Paste
You can transfer files from one location to another by using the copy-and-paste commands. You can enable these commands by simply right-clicking and choosing the options “Copy” and “Paste” or directly using the keyboard shortcuts CTRL + C and CTRL + V.
How to Transfer Files Using ConnectWise Control on macOS
-
You can transfer files through ConnectWise Control on macOS by default to this directory:
~/Users/{logged in UserID}/ConnectWiseControl/

-
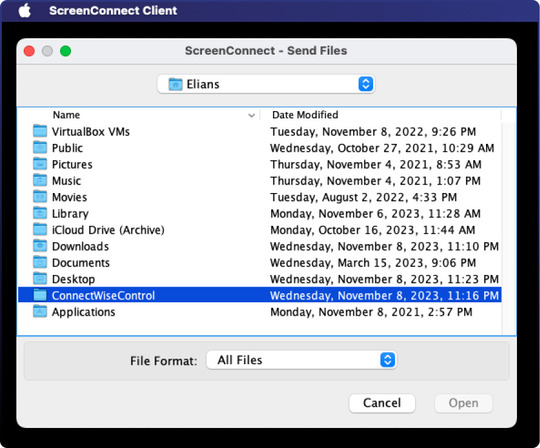
Send Files: On a remote machine, you can select the file you want to transfer and send it using the option “Send Files”.

-
Send Folder: On the remote machine, choose the folder you want to send and get it transferred using the option “Send Folder”.
-
Receive Files: On the remote machine, choose the files you want to transfer and send them to the host computer using the option “Receive Files”.
-
Receive Folder: On the remote machine or guest machine, choose a folder you want to transfer and receive it on the host computer using the option “Receive Folder”.

Drag-and-Drop File Transfer
On your Mac computer, you can perform file transfers from a host machine to a guest machine by using the drag-and-drop option. It will transfer your chosen file to the client window.
File Transfer through Copy-Paste
You can right-click and select the commands – “Copy” and “Paste” from your Mac computer to transfer your files from one location to another location.

How to Transfer Files Using ConnectWise Control on Linux
ConnectWise Control file transfer can happen on your Linux computer to this directory by default:
/{logged in UserID}/ConnectWiseControl/Files OR /tmp/screenconnect-xxxxxxxxxxx/
File Transfer Using Drag-and-drop
On your Linux computer or the guest machine, you can transfer files by using the drag-and-drop option. Just drag a file from the host machine and drop it to the guest machine in the client window.
How to Solve the Issue If ConnectWise Control Can’t Receive Folders
If ConnectWise Control can’t receive folders via the file transfer functionality on your system, you can consider trying the below techniques and alternatives.
Create a Zip File by Compressing the Folder
If you are using the file transfer tool, ConnectWise Control, but it’s not receding the folders directly, try compressing the complete folder and creating a Zip file. As a result, you will get compressed individual files that you can easily transfer to a remote computer.
Multiple File Transfer
If you are facing difficulty in sending a folder, you can manually choose multiple files from this folder and transfer them to the destination computer. Although this could take time if you transfer too many files, this still solves your problem.
These two ways can hopefully solve the issue so that ConnectWise Control receives folders and files.
Transfer Files Using a ConnectWise Control Alternative

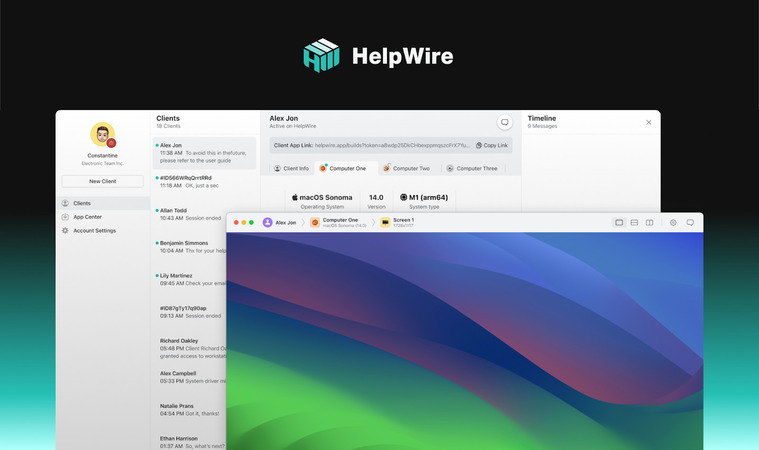
Looking for a more efficient way to transfer files without the complexity of traditional solutions? HelpWire is the perfect alternative to ConnectWise ScreenConnect (formerly ConnectWise Control). It enables quick, seamless copy-paste file transfers during remote sessions, eliminating the need for external storage.
Offering both on-demand and unattended access, HelpWire combines an intuitive interface with strong security and essential tools for remote support, team collaboration, and cross-platform troubleshooting. Whether for personal or business use, it ensures fast, hassle-free access across Mac, PC, and Linux devices — all with no hidden fees or limitations.
Why HelpWire?
✅ Cross-platform support – Connect across Windows, macOS, and Linux.
✅ Unattended access – Securely control remote devices anytime.
✅ Effortless file transfer – Drag and drop files with ease.
✅ No complex setup – Quick installation and simple interface.